Email setup guide
Configuring Windows 7 mail
Step 1: Open the Windows Mail E-Mail application.
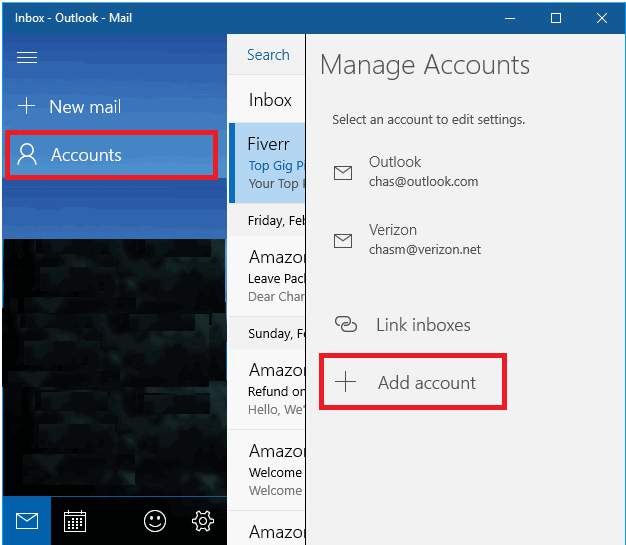
Step 2: In the heading menu, select “Accounts” followed by “Add Account”
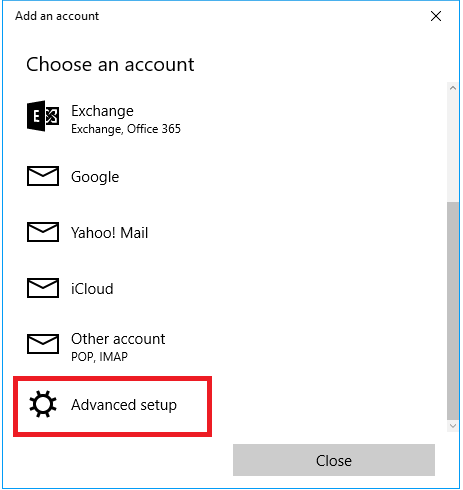
Step 3: When prompted, select the “Advanced setup” option
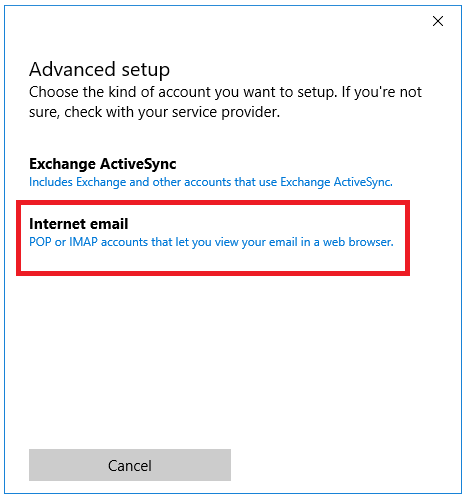
Step 4: When prompted, select the “Internet Email” option
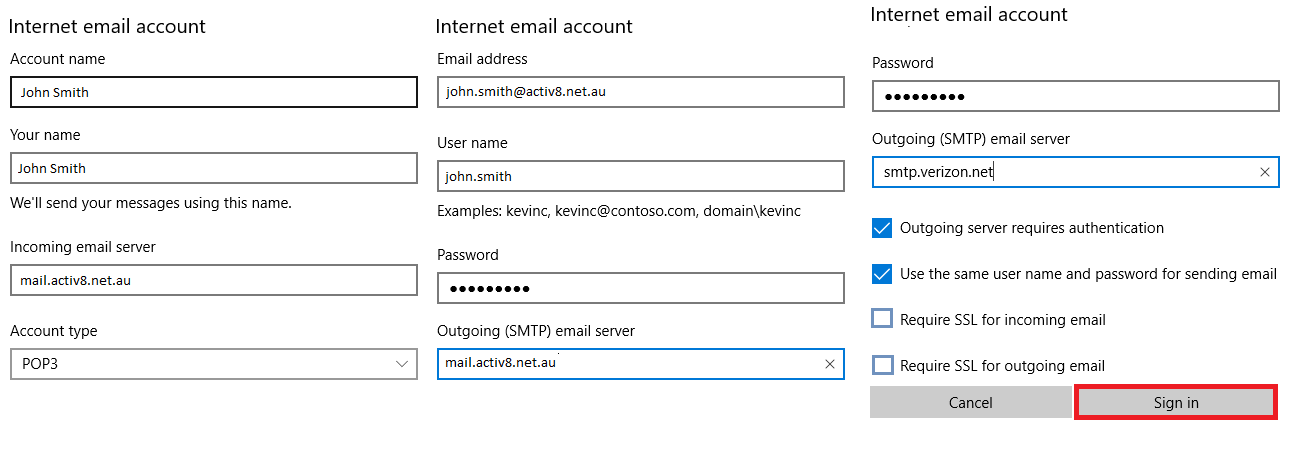
Step 5: Complete Form with the following information
User Information
Account Name: {First name and Surname – activ8me}
Your Name: {First name and Surname}
User Name: {Firstname.Surname}
E-mail Address: {Your activ8me E-mail address}
Password: Provided by activ8me
(To change password Click Here)
Logon Information:
Password: Provided by activ8me
(To change password Click Here)
Server Information
Account Type: POP
Incoming mail server: mail.activ8.net.au
Outgoing mail server (SMTP): mail.activ8.net.au
Account type POP3
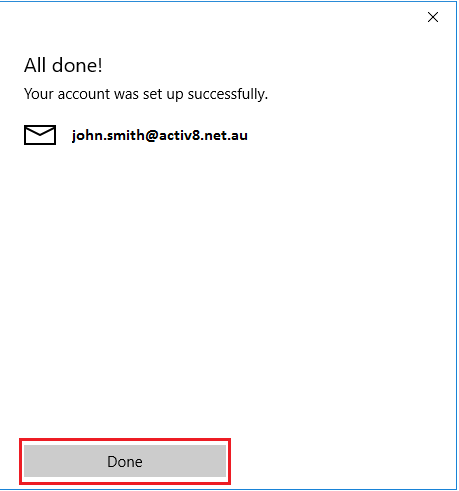
Step 6:If all steps were completed correctly, the mail client will be ready to use.